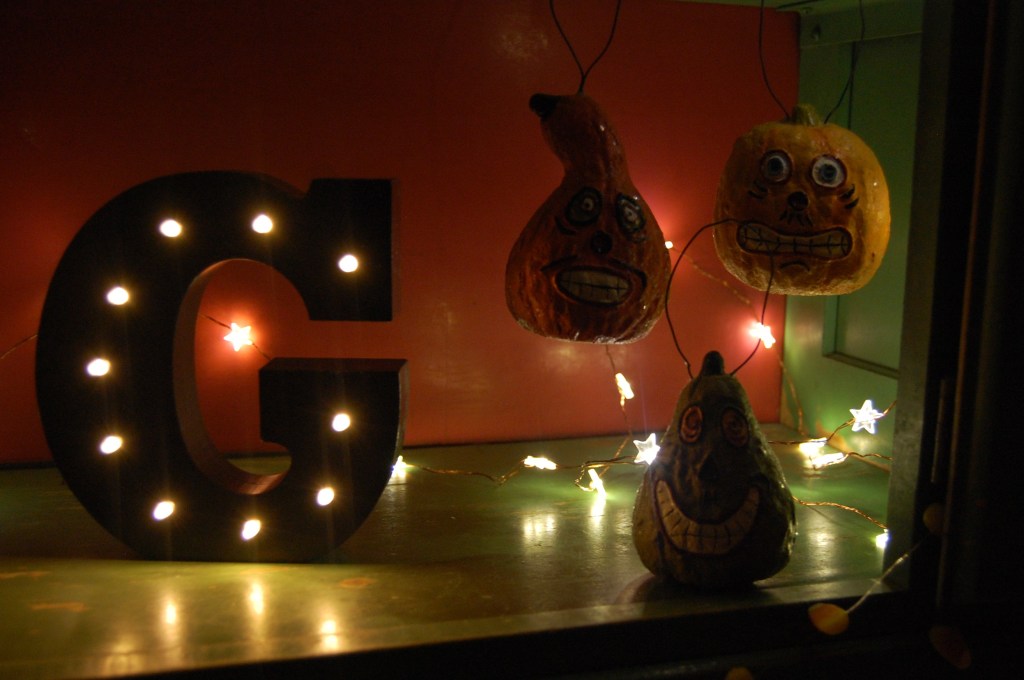
A Real Food Halloween Party – Part Two
Enter if you dare! I’m continuing a four part series on real Halloween party foods. I define real foods as made in nature, not in a factory. This includes minimally processed foods that are made with ingredients we recognize, and regularly use in our kitchens.
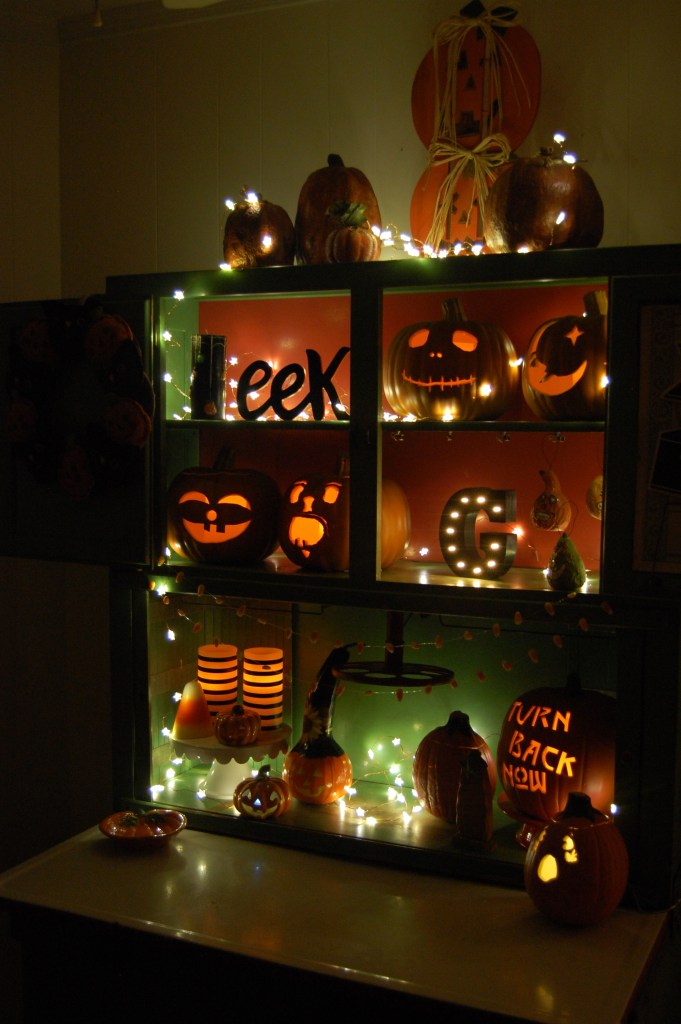
Halloween doesn’t have to be all about the sugar buzz! Here are some real food options for your party that are easy to prepare, fun to serve and only slightly creepy to eat.
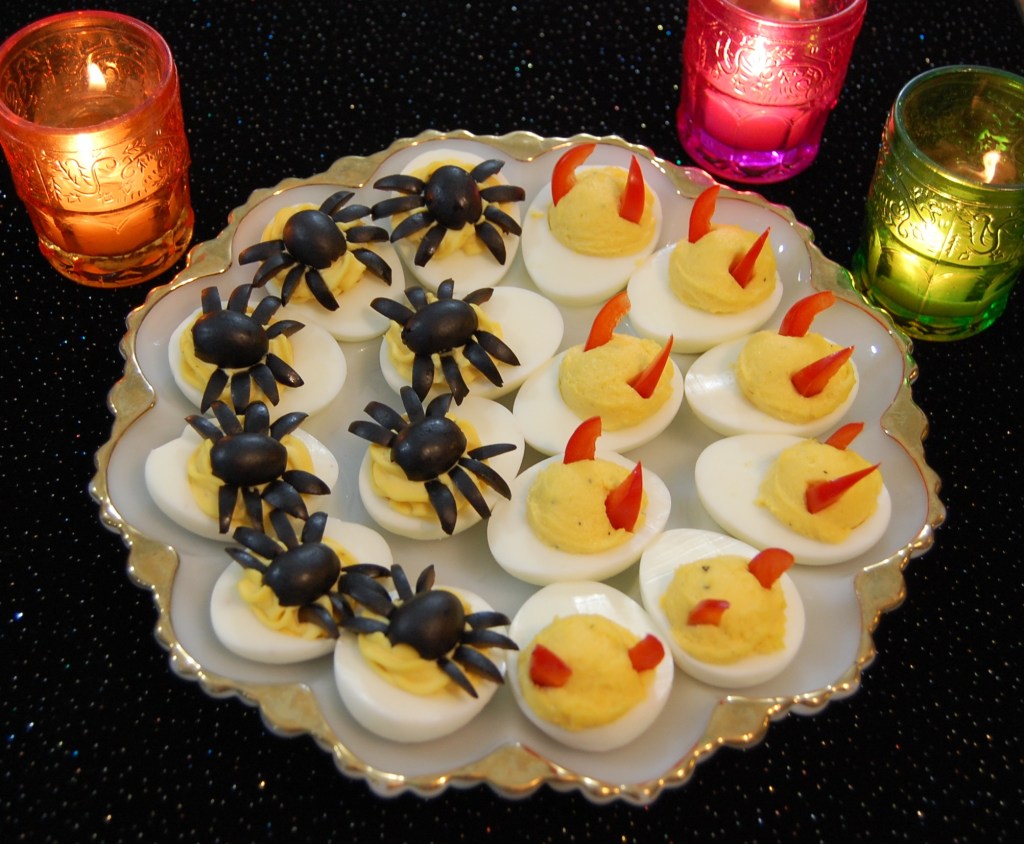
Deviled Eggs and Spider Eggs
Prepare deviled eggs according to the classic recipe here, or use your favorite recipe. I piped the filling using a dessert decorator for the spider eggs and used a cookie scoop to fill the deviled eggs.
Deviled Eggs
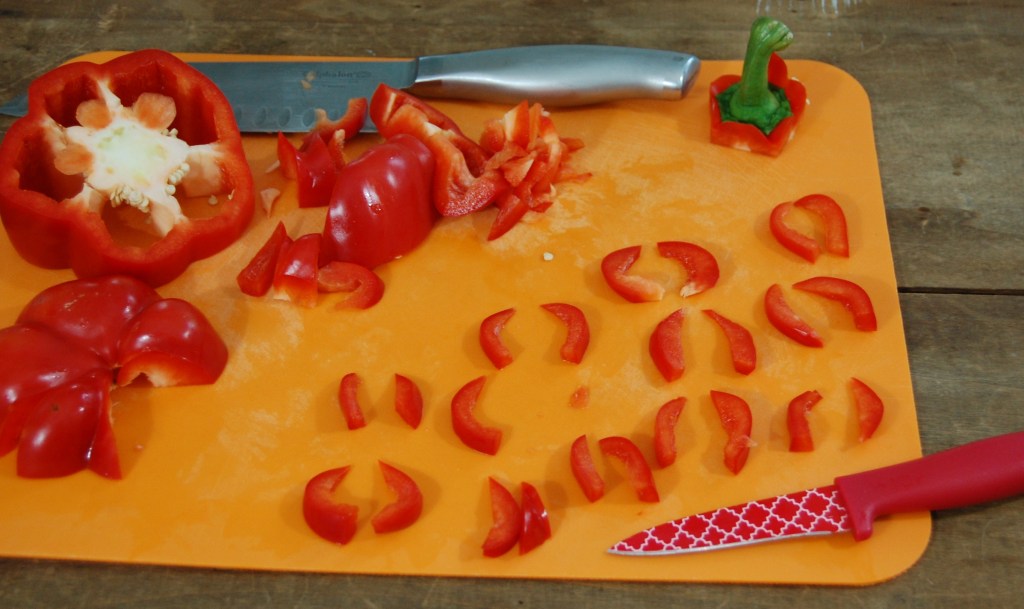
Slice thin ‘horns’ from the curved ends of a red bell pepper. Mine are about an inch long. Place two horns into each filled egg half.


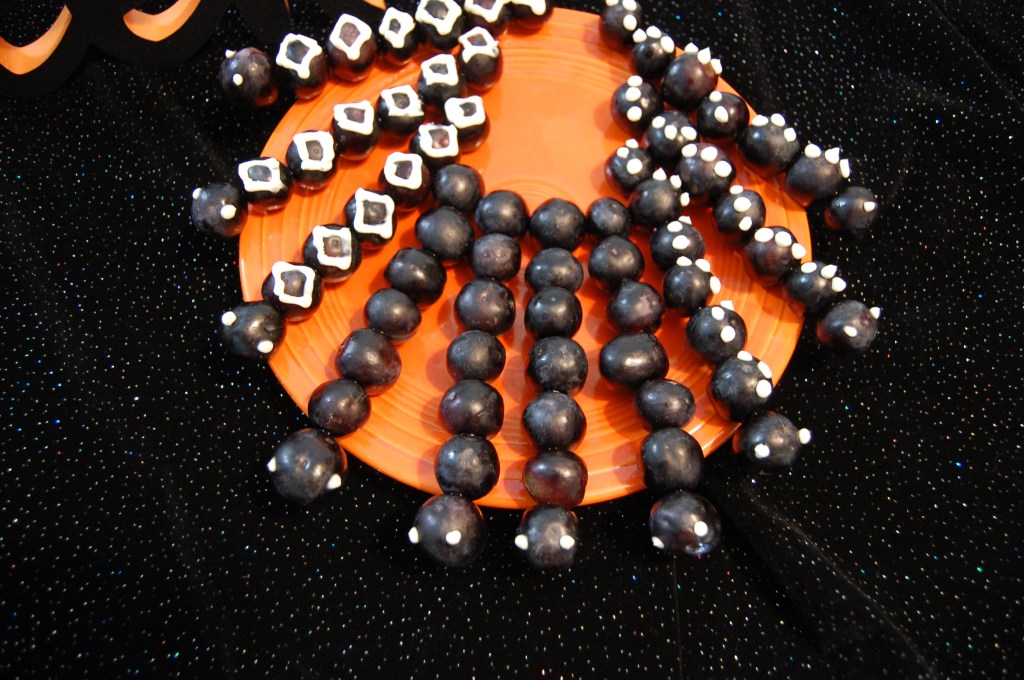
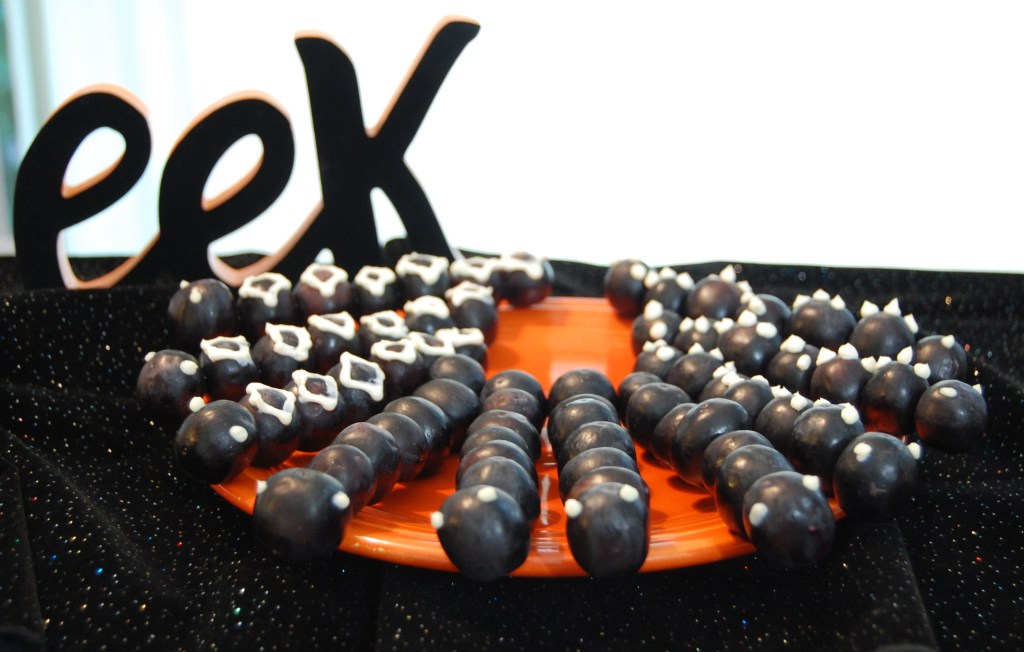
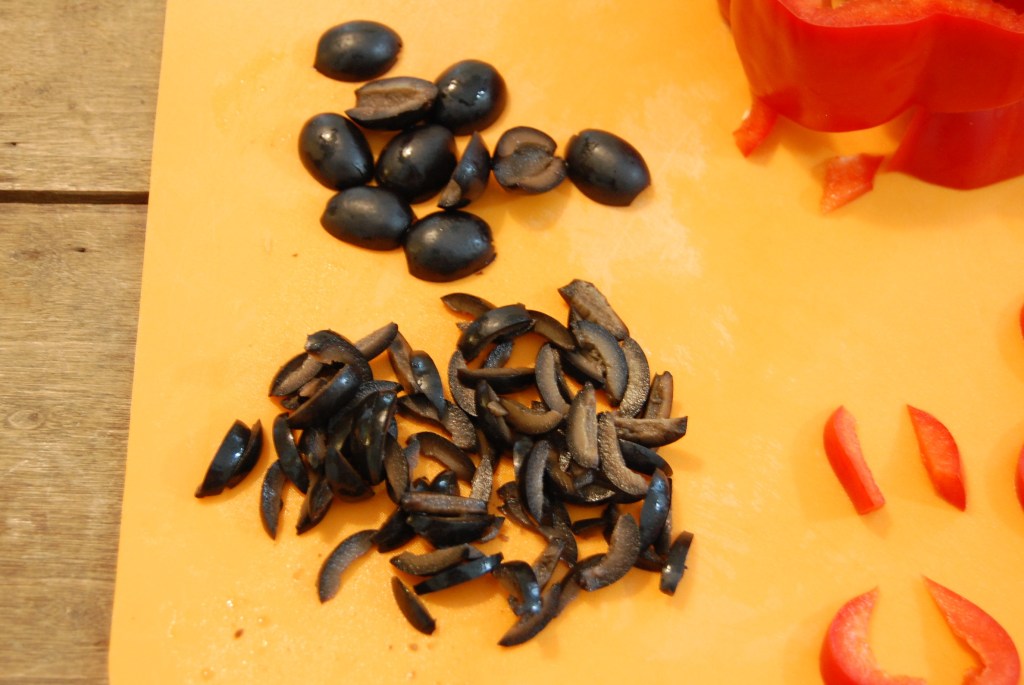
Spider Eggs
For the spider’s body, slice whole black olives in half lengthwise, and place one in the center of each filled egg half. Slice tiny slivers of black olives for the spider’s legs. You’ll need eight slices for each spider. Place them around the olive half to create the spider’s legs.

Panna Clotta
This mildly sweet, coconut milk dessert becomes Halloween party ready with the addition of a ‘clot’ of strawberry chia jam. This is a great make-ahead treat, because both the panna cotta and the jam need time to set up in the refrigerator. I prepared the jam by following this recipe. Be sure it is completely jelled, not runny.
The panna cotta recipe is an old favorite of ours. You can sweeten it however you like. We’ve tried honey, Swerve and monk fruit and they each taste just great. After the panna cotta has completely set up, place the chia jam on top. I used a one inch cookie scoop in order to create perfectly rounded ‘clots’. Yum.


I hope this provides some creative inspiration for your Halloween party. If you missed Part One of this series, you can read it here.
To shop the post:
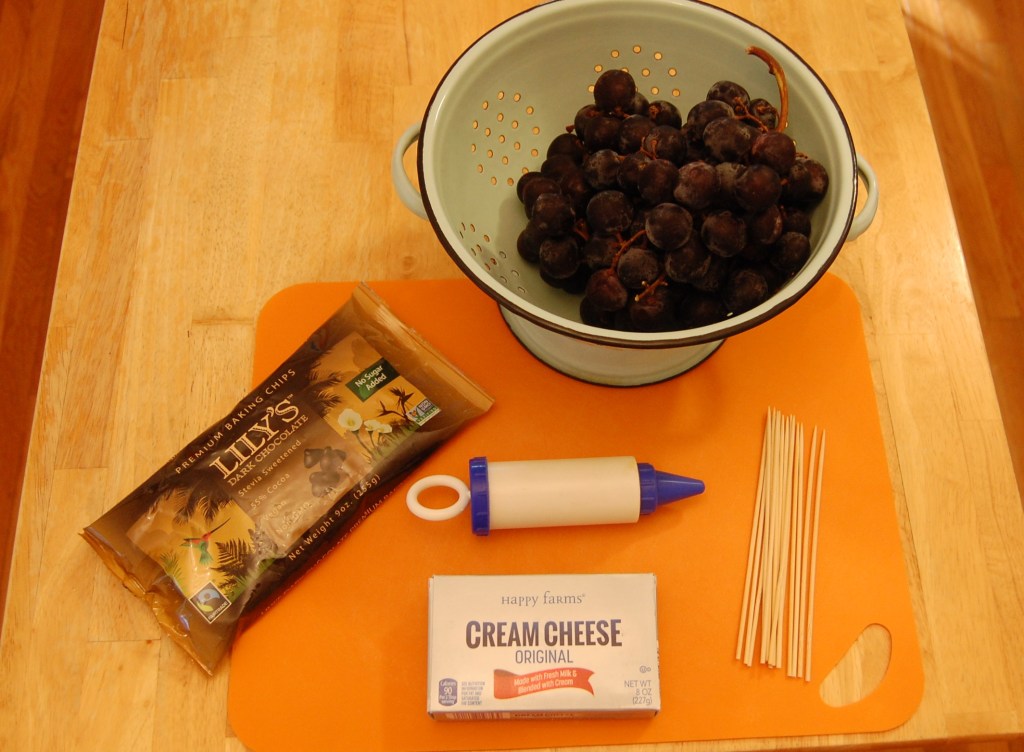
Dessert Decorator / Cutting Board / Paring Knife / Chef’s Knife / Swerve / Monk Fruit / Ramekins / Cookie Scoop / Votive holders – NLA, these would be pretty / Egg plate – vintage, but readily available online. Google “milk glass egg plate” Similar / Glitter Tablecloth – NLA, Similar
Disclosure: In addition to occasional sponsored posts, Arthurized Home uses clickable affiliate links. That means that I may receive a small commission from sales at no extra charge to you. As always, my opinion is 100% my own, and I only recommend things that I truly love or use myself. Thank you for patronizing the brands that support Arthurized Home!
Copyright 2019-2021 © Arthurized Home – All Rights Reserved. This post is the original content of Arthurized Home. If you’re reading this on another site, it’s unArthurized.