If you’ve ever done a 5k (or twenty), you know that race organizers love to throw shirts at their participants. Most of the time you’ll get a technical shirt that is perfect for wearing during your next training walk or run. But sometimes you’ll get a cotton shirt in your swag bag.

Now, don’t get me wrong, cotton tees are great for casual weekend wear, bumming around the house or even wearing as a night shirt. But, cotton is no bueno for sports. It grabs sweat and holds it in the weave of the fabric, which can cause chafing, which can cause pain and well, you know, use of bowling words. No one wants that.
There are plenty of options for unused shirts. They can certainly be donated to charity, passed along to family or friends who will wear them, or upcycled into a myriad of other useful items. Just ask Pinterest.

Speaking of Pinterest, this project was one of my first “pins”. For the past few years I’ve been collecting cotton race/volunteer shirts and setting them aside. You could use favorite shirts you just can’t part with, clothing your kids have outgrown, tee-shirts from sports teams, schools and concerts, or simply a collection of thrifted shirts with attractive graphics. Make sure the shirts are in good condition without holes or stains.
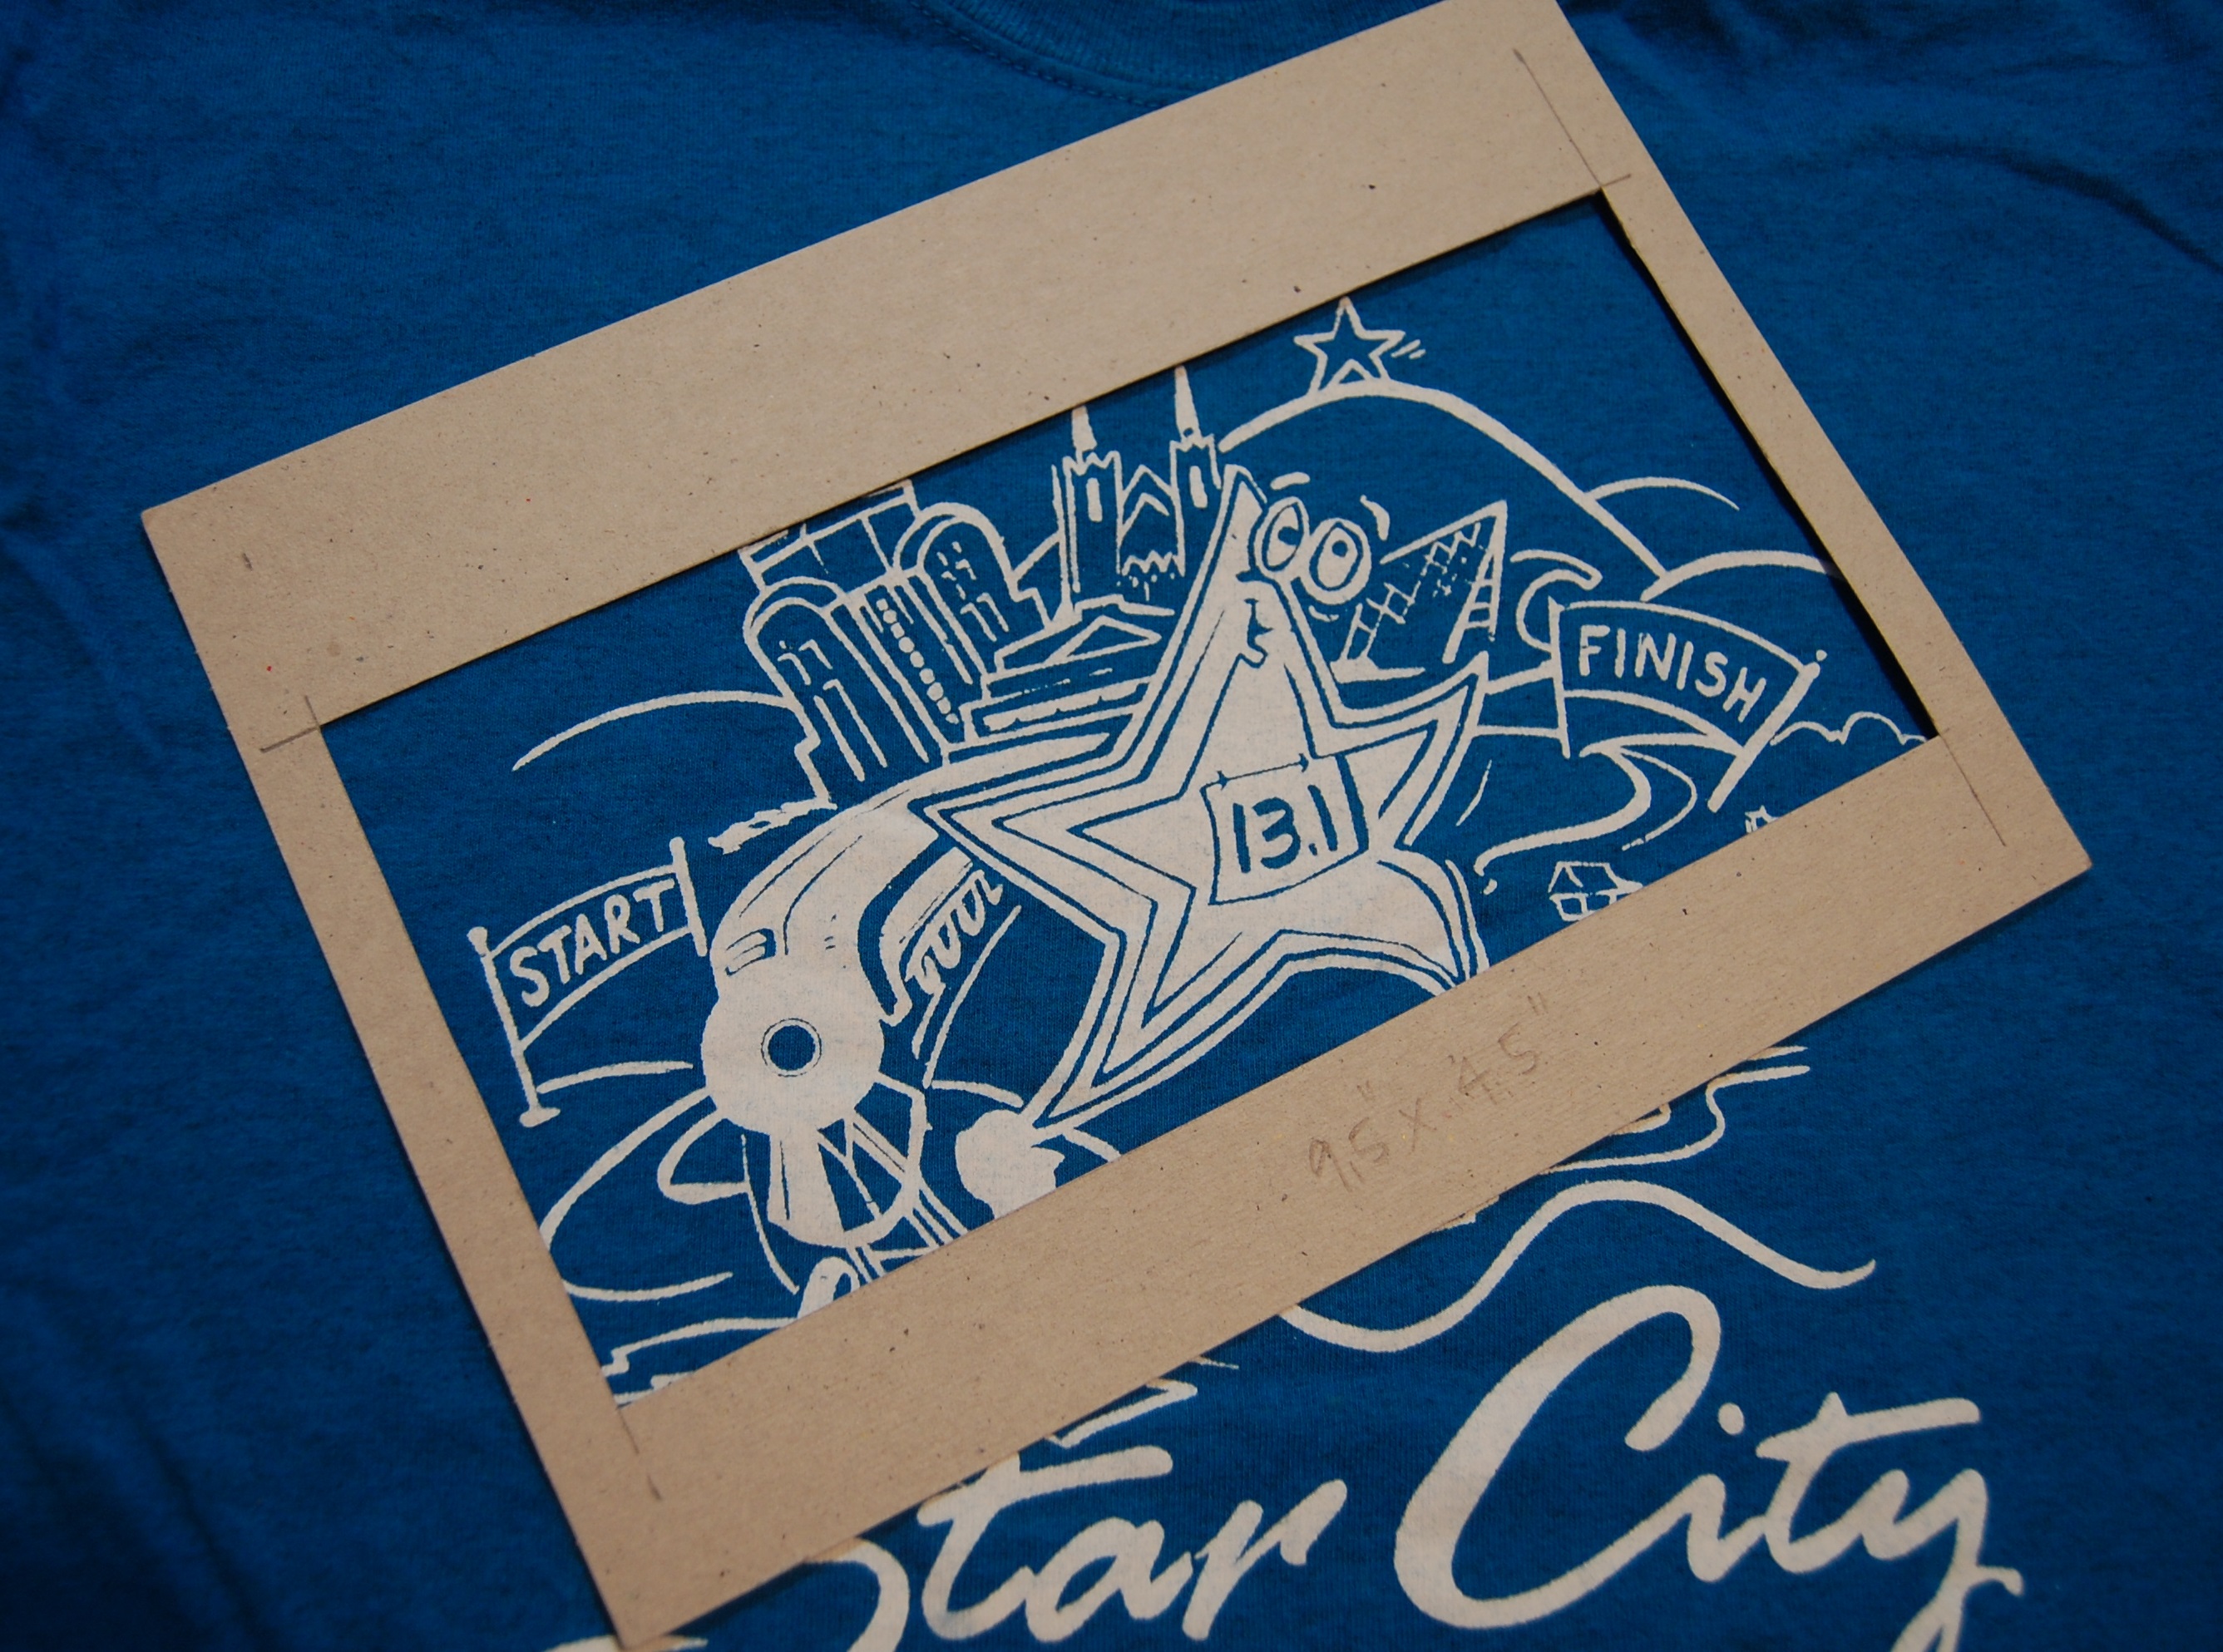
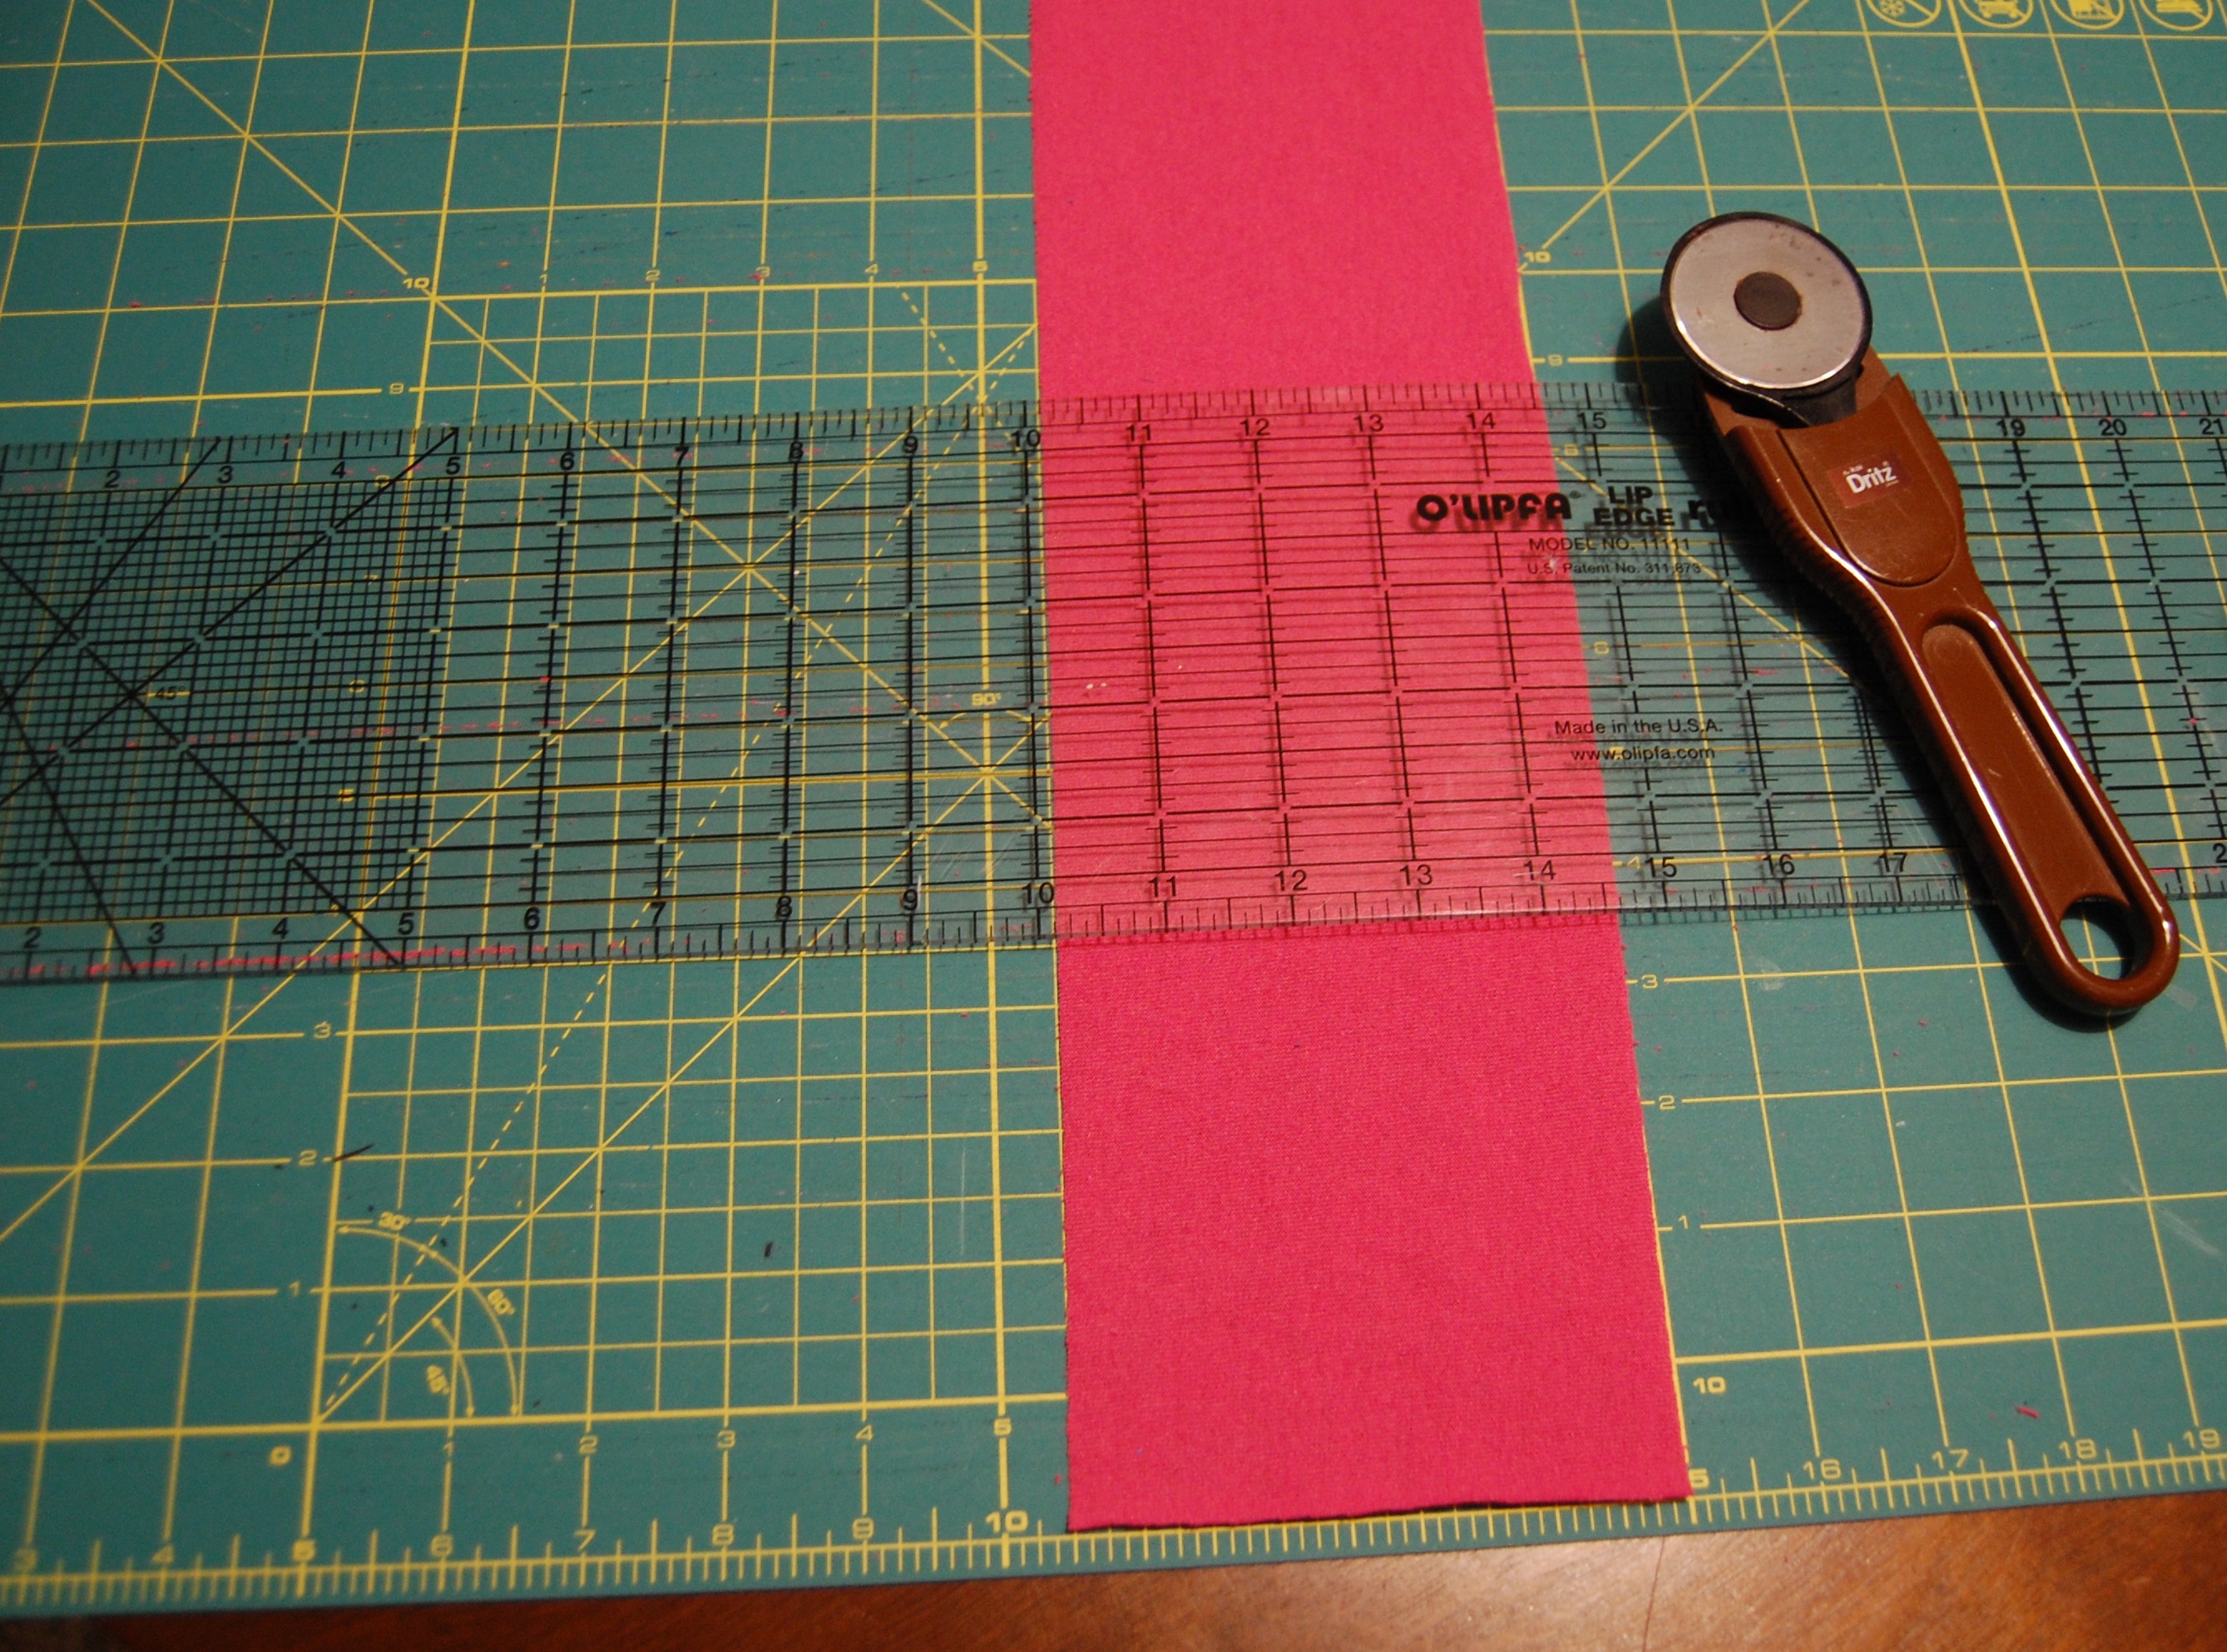
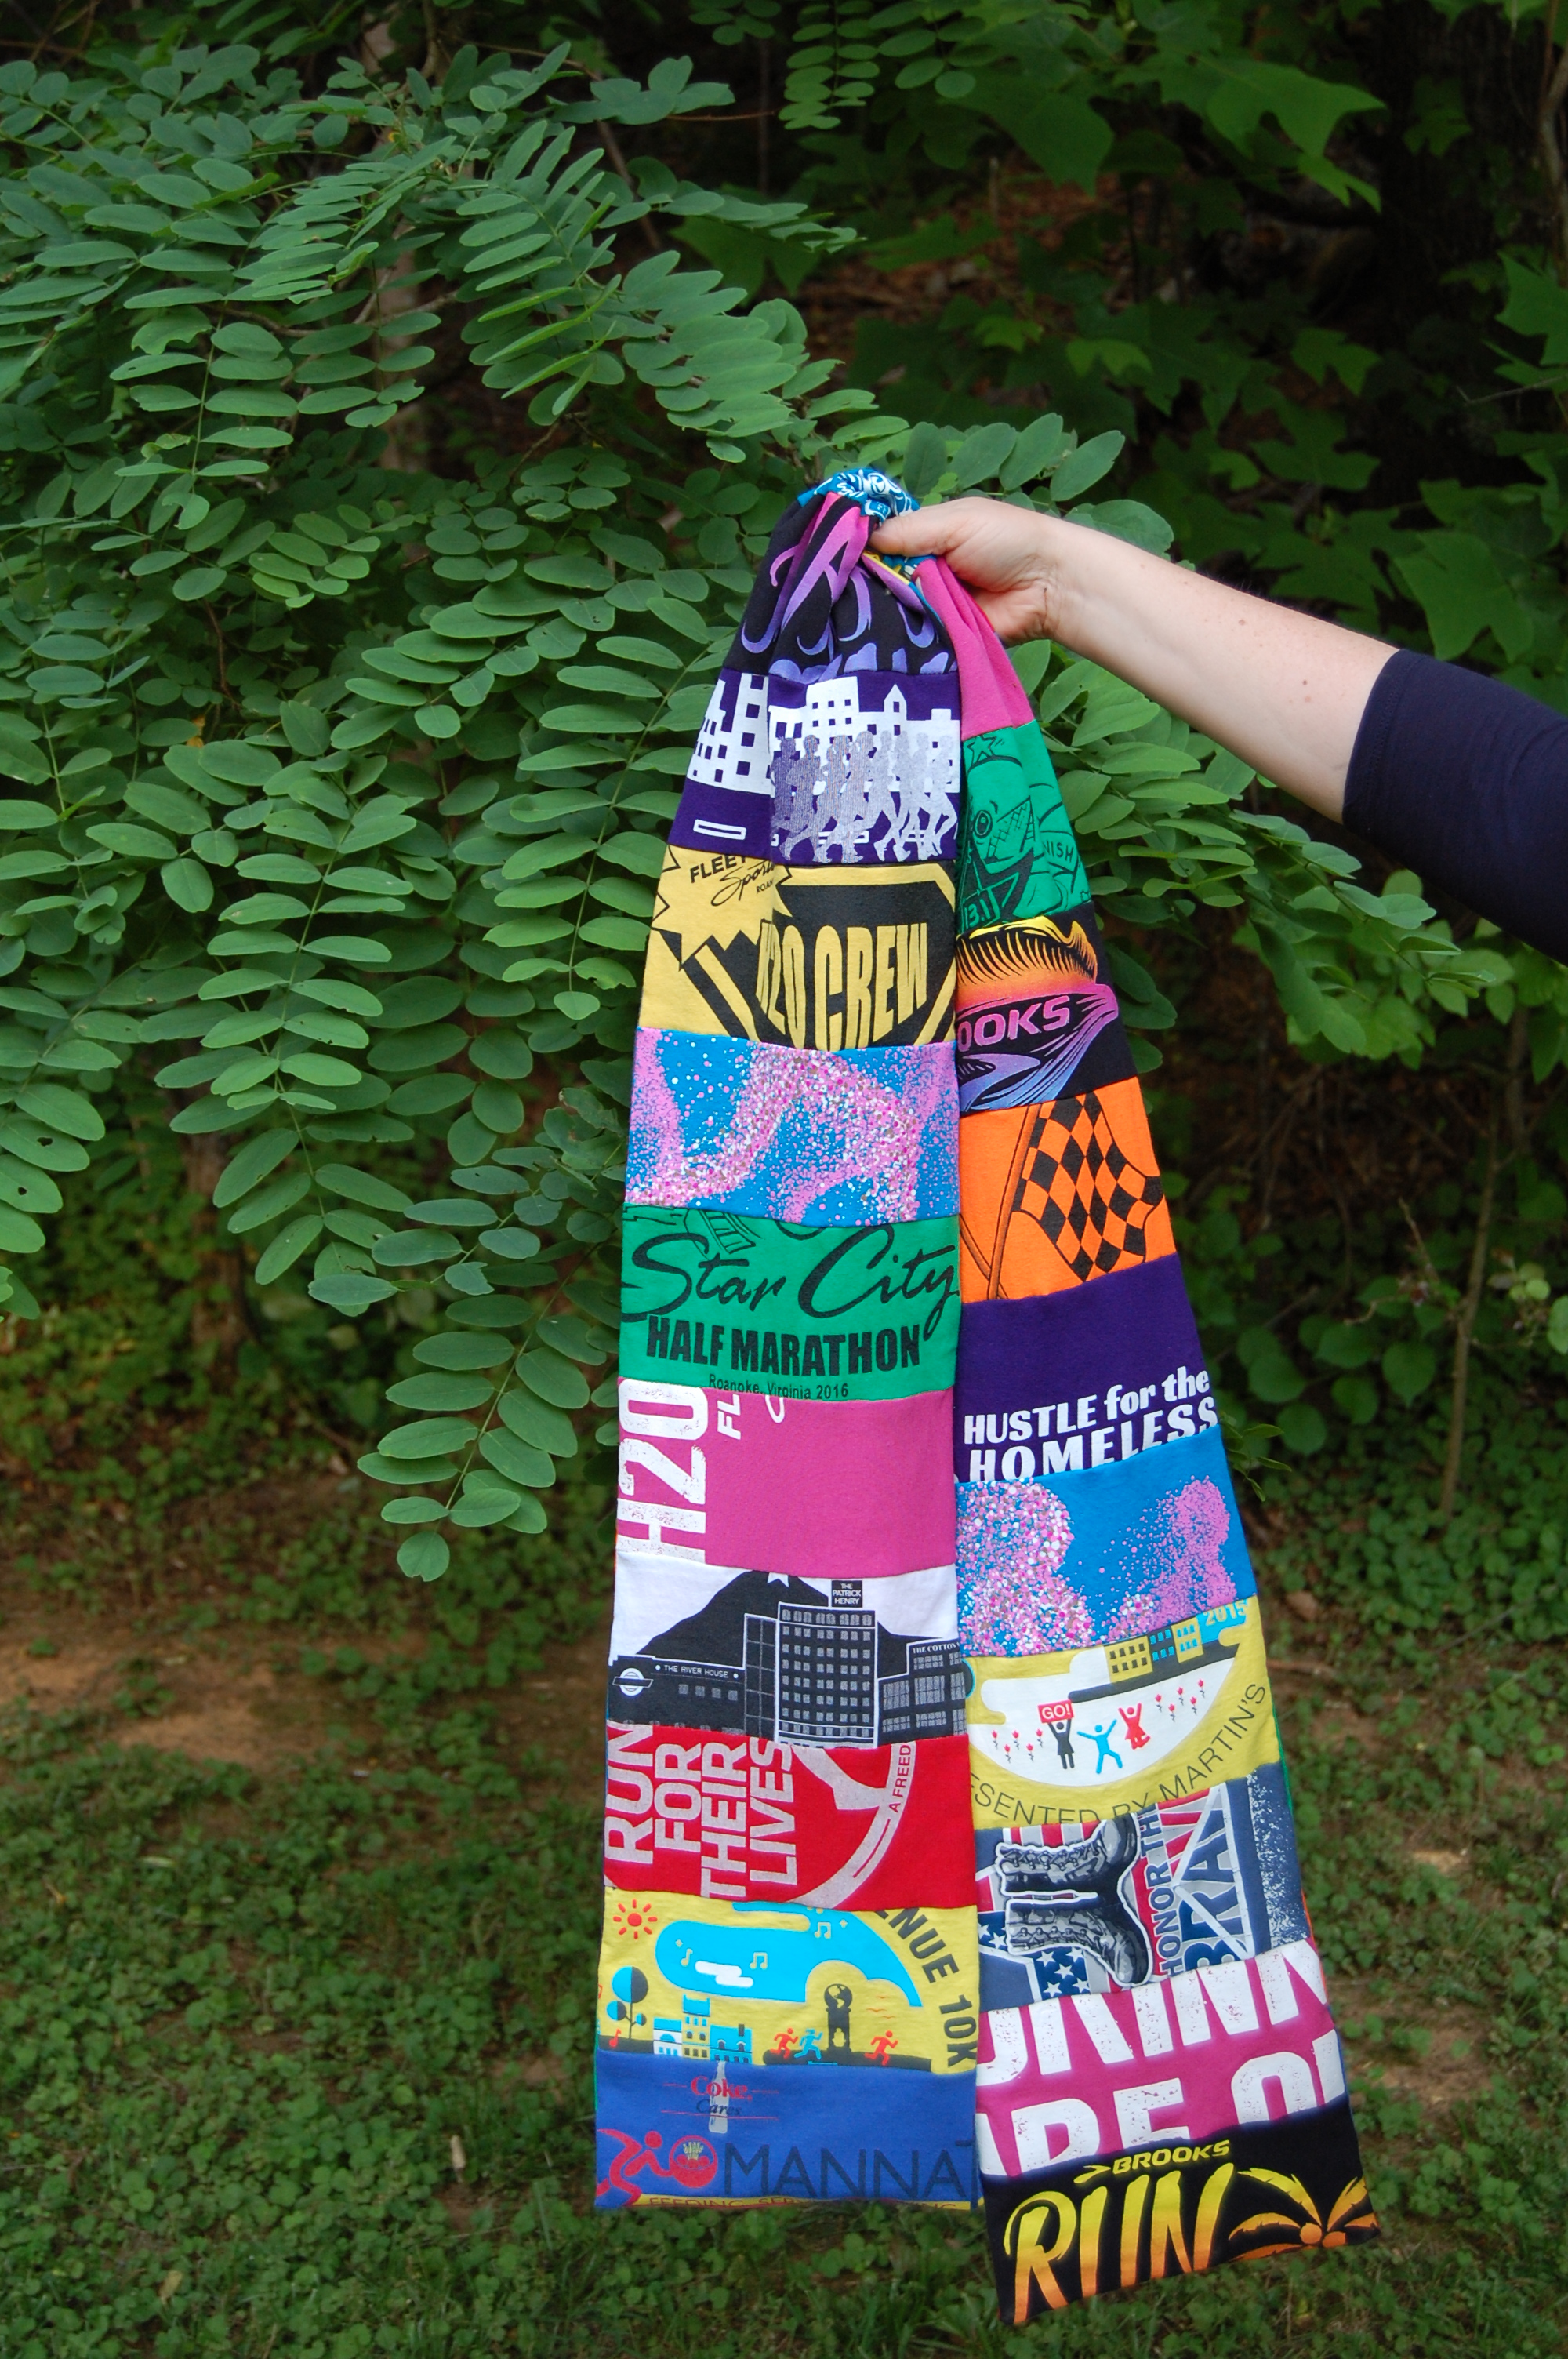
Because I wanted to capture a few larger graphics, I cut my rectangles slightly larger than the tutorial. Mine are 9.5″ by 4.5″, and I cut 21 of them for the front of the scarf. Most of the blocks were cut along the weave of the fabric, but some of them I cut on an angle as below.
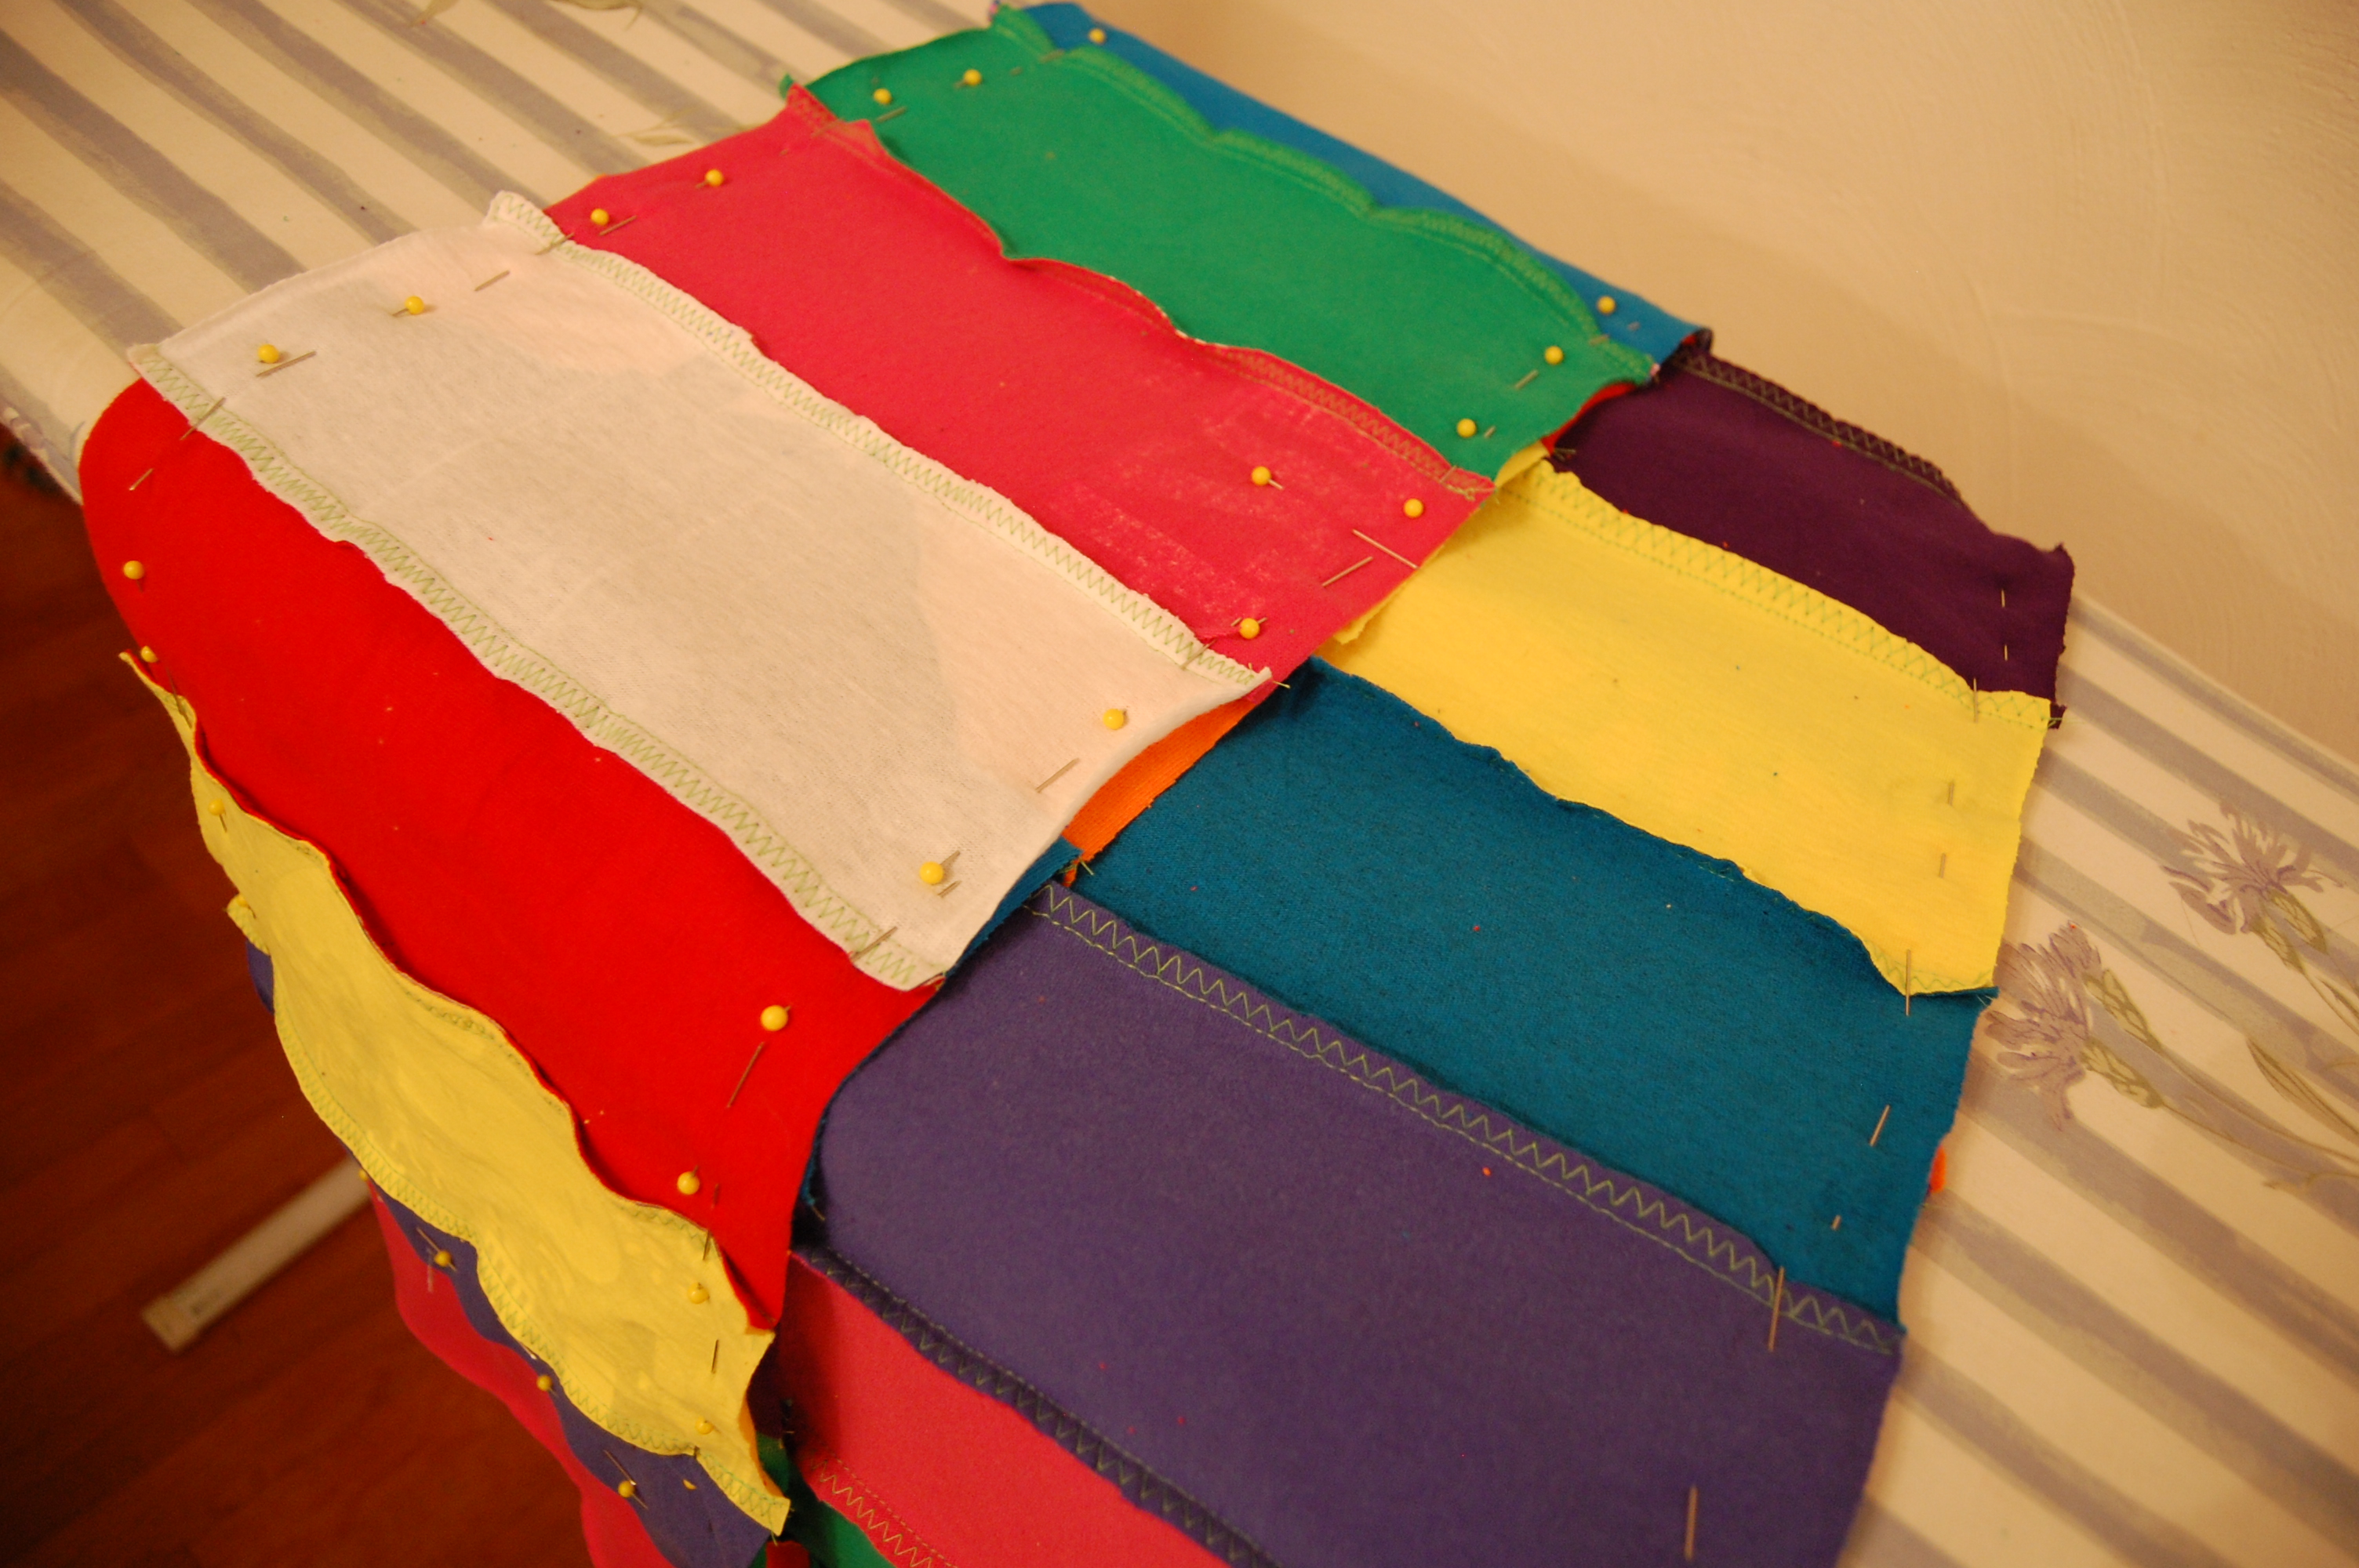
I lined them up and rearranged them until I was happy with the layout. If you are working with blocks of text or titles, reverse directions of the layout at the center, otherwise one half will read upside down while the scarf is worn.

Cut the pieces for the back from the remainder of the tee shirts. Cut one more rectangle for the back than you cut for the front, because the blocks will be offset to reduce bulk at the seams.

Sew the front pieces into a long strip, and then do the same to the back pieces. I used lime green thread because with so many colors going on, it didn’t really matter what color I used. Might as well pick something fun! Plus it was already in the machine and I didn’t want to make a bobbin. #lazysewist


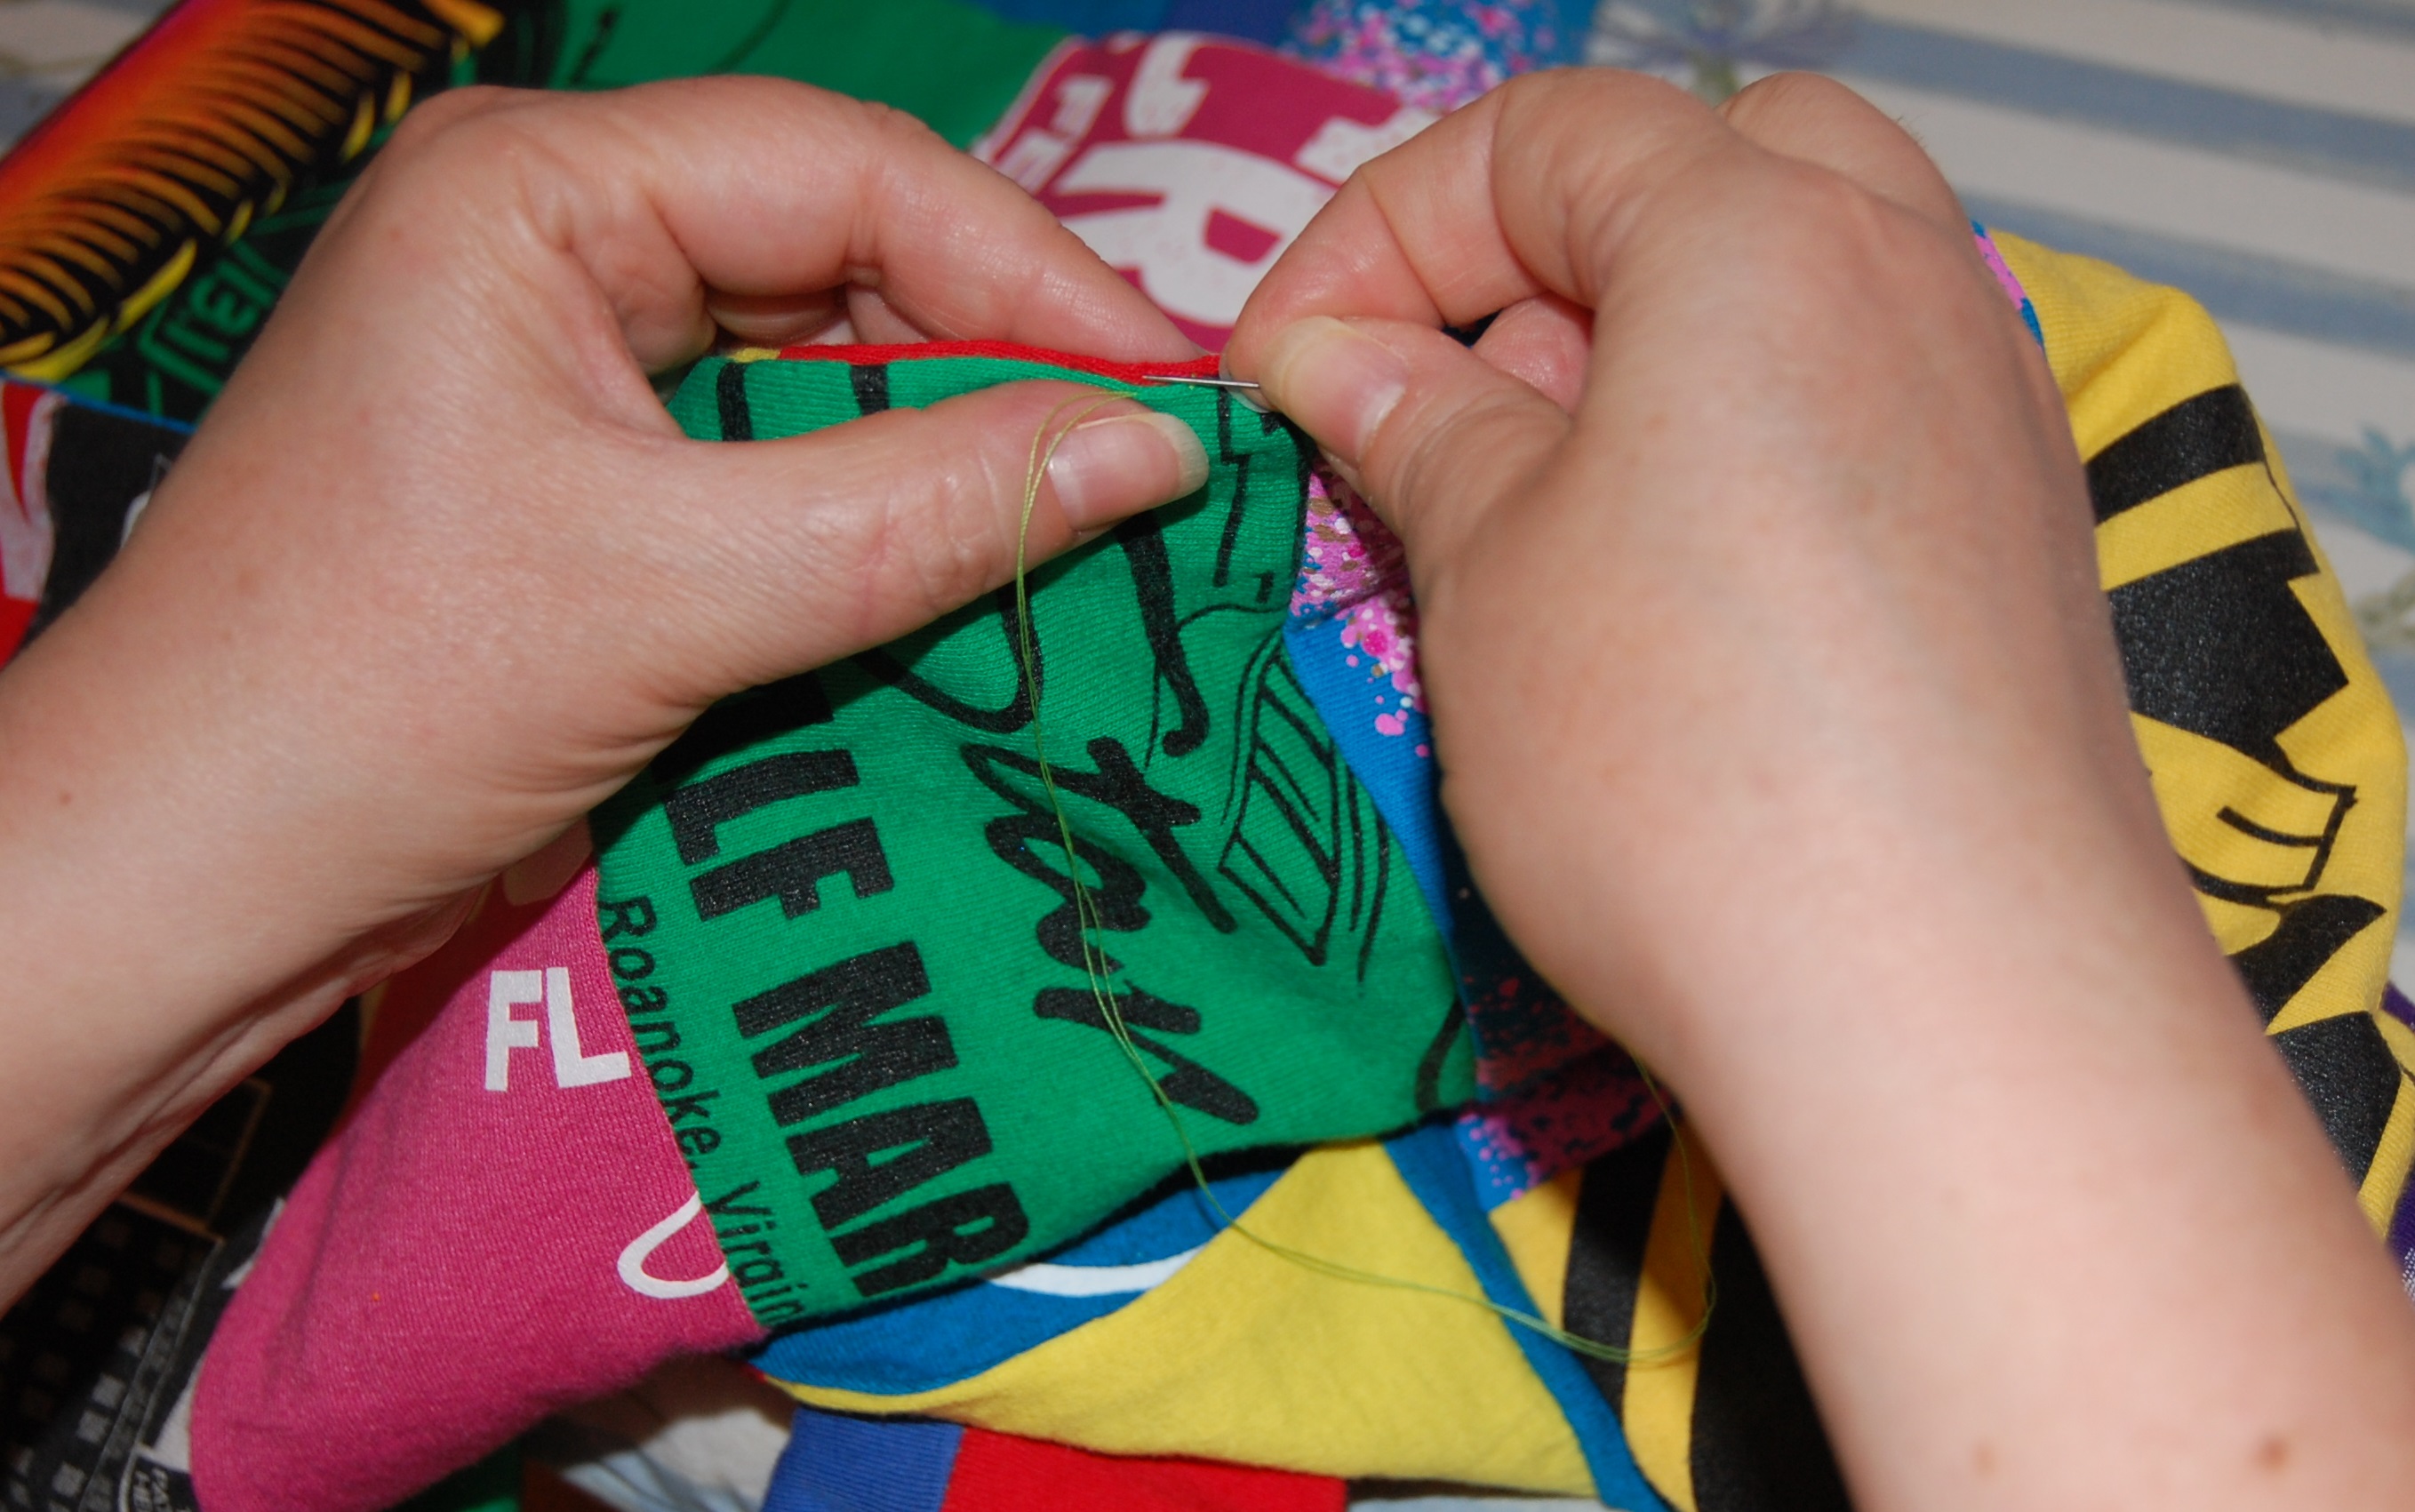
Iron the seams flat and trim off any excess fabric from the seams. Pin the front and back together, with right sides facing each other. Make sure the seams lay flat on both sides of the scarf as you pin. When you stitch the edge of the scarf, leave a large enough opening for turning it right side out. Trim off excess fabric from the edges.

Once you’ve turned the scarf right side out, iron it flat. Stitch the opening closed using either a machine top stitch or by hand using an invisible stitch.
Now it’s time for the good stuff…styling your new scarf! Have fun with it!


Invisible Stitch Tutorial:
https://www.youtube.com/watch?v=WbE5hXt27uU
Tee Shirt Scarf Tutorial:
http://justsomethingimade.com/2011/02/t-shirt-scarves-the-art-of-repurposing/

I think the back of my scarf resembles a vintage, TV test pattern!
If you make this project, I’d love to see it!
Email me at: arthurized dot home at gmail dot com
Disclosure: In addition to occasional sponsored posts, Arthurized Home uses clickable affiliate links. That means that I may receive a small commission from sales at no extra charge to you. As always, my opinion is 100% my own, and I only recommend things that I truly love or use myself. Thank you for patronizing the brands that support Arthurized Home!
Copyright 2019-2021 © Arthurized Home – All Rights Reserved. This post is the original content of Arthurized Home. If you’re reading this on another site, it’s unArthurized.


Very cool! Good work!
LikeLike
Thanks, Ruby! You need an IU scarf!
LikeLike